GETTING STARTED
How to start an online boutique in India: from collection to first order
A practical online boutique launch checklist: product photos, size stock, costs, payments, shipping information and a phone checkout test before you launch.
By SellyBee · Published · Updated . This guide is published by SellyBee. Confirm other providers’ current features and terms before purchase.
The short answer
Start with a collection you can accurately photograph, describe and fulfil. Build a shop with clear prices and size stock, set up the payment methods available to your business, explain delivery and exchanges, and check the complete buying journey on a phone. SellyBee provides five shop designs and a dashboard for your own-store products and orders.
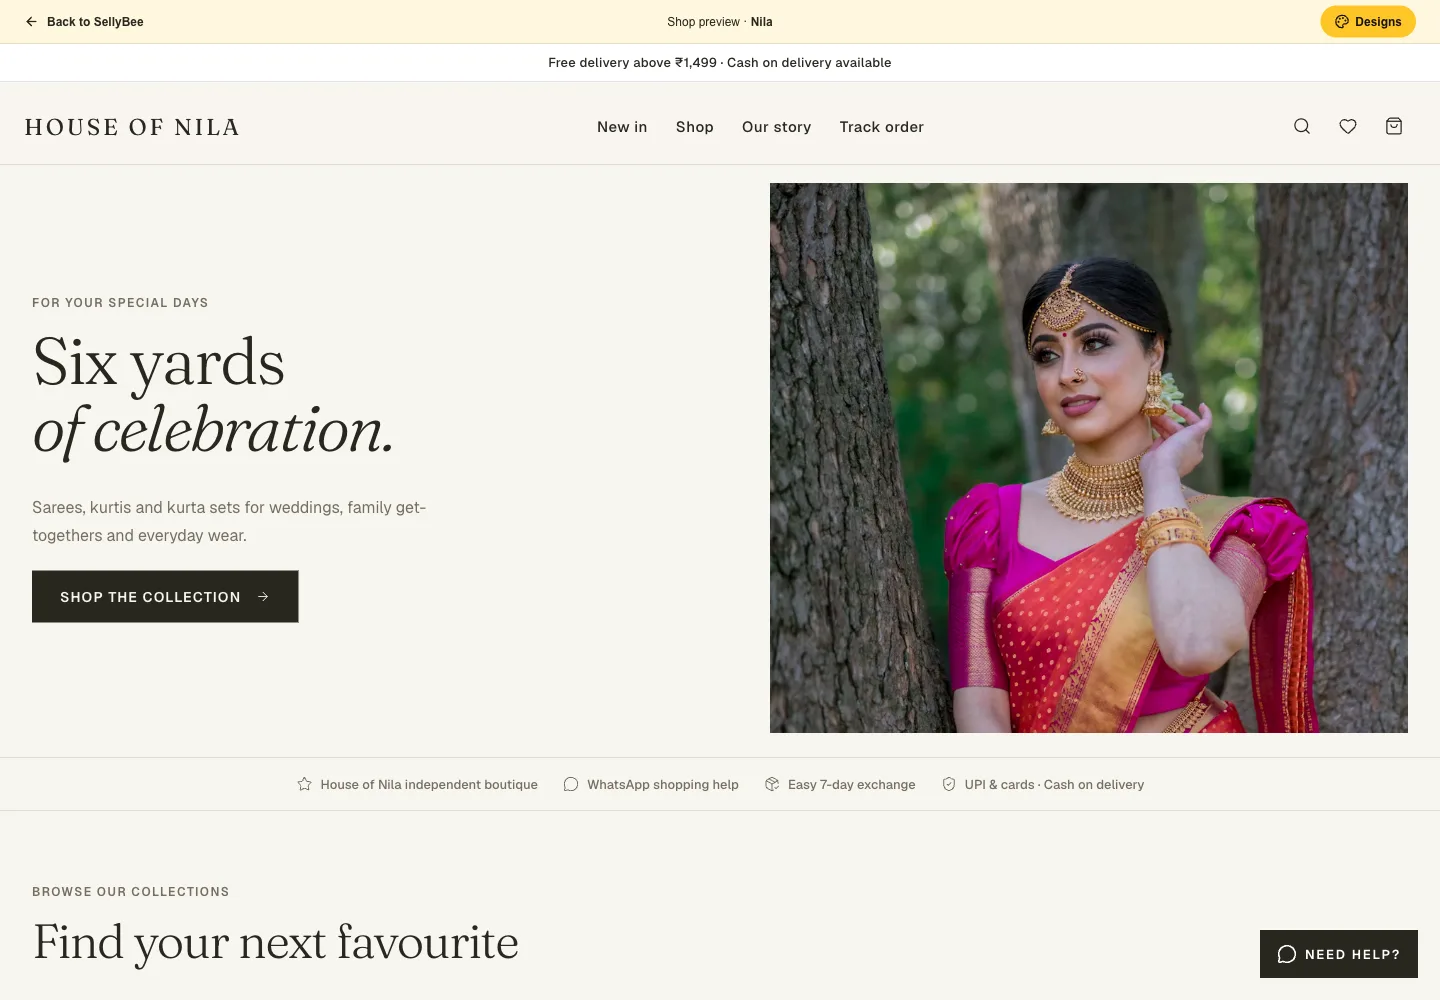
1. Prepare a small collection you can actually send
Choose a manageable set of ready-to-sell products. Give every product a recognisable name, a price and photographs of the actual piece. Keep made-to-order work separate from stock you can dispatch immediately.
For example, a sample listing called Blue Cotton Kurta Set should say whether it includes the kurta, trousers and dupatta. Only call it cotton if that is what the supplier or garment information supports. Add garment measurements, care instructions and your own photographs rather than guessing from a styled image.
- Photograph the front, back and important fabric or finishing details.
- State which pieces and accessories are included.
- Record the selling price and any shipping charge clearly.
- Add the sizes and pieces that are physically available.
2. Record sizes at the level customers choose
A total of ten pieces is not enough information if a customer needs size M. A planning example might be S: 2, M: 4 and L: 4. Use your actual stock when creating the product. Check how an unavailable size appears in the storefront.
SellyBee provides product size and stock fields. If you also sell a piece over the counter or directly through chat, keep the online quantity accurate. Do not treat a shop catalogue as automatic synchronisation with every sales channel.
3. Choose a design and budget for the full shop
Preview the same product in a couple of designs on your phone. Can you read its price, see its photographs and find the size selector? Choose around the buying journey rather than only the banner photograph.
SellyBee includes five designs and a 14-day trial without a card. The subscription after the trial is ₹999 monthly or ₹10,000 yearly, arranged through WhatsApp. Payment processing, domain registration and renewal, packing materials, courier charges and any applicable taxes need a separate allowance. Your sales and costs determine profitability; a website subscription does not guarantee orders.
4. Configure payments and explain fulfilment
For SellyBee online payments, activate your own Razorpay account and connect it through Dashboard → Payments. Follow the payment update instructions and verify which methods are enabled. UPI availability depends on the account and its settings. You can choose to offer cash on delivery separately.
Write down the dispatch window, shipping charge, exchange conditions and contact method customers should see before ordering. Arrange your own carrier and confirm serviceability. Keep dispatch time separate from the carrier’s transit estimate. Do not promise a delivery date you cannot support.
5. Walk through the shop as a customer
Open the storefront on a phone using the same link you plan to share. Find a product, inspect its details, choose an available size and check the order summary. Try correcting a quantity and returning to the collection.
Before promotion, verify your payment flow and inspect the resulting order in the seller dashboard. Make sure the item, size, amount and customer details match. Keep tests clearly separate from real customer results. The public demonstration shop uses sample data and is for exploring the design.
- Check every launch product’s images and description.
- Read the shipping and exchange information before checkout.
- Verify the intended online or COD payment flow.
- Confirm the matching order and payment status in the dashboard.
- Check that a customer can find your contact details.
6. Share a specific collection and learn from the response
Add the shop link to your Instagram profile and share a useful introduction with people who want your updates. Lead with a particular collection, its product details and a clear reason to open the shop.
Review the questions people still ask. If several customers need the garment length, add it to the product page. If they cannot find the advertised piece, improve the collection link or product name. Keep the catalogue accurate before making it larger.
Provider documentation
Sources reviewed for this guide. Features, prices, eligibility and promotions can change; verify the live terms for your business.
Questions before you start
What should I prepare before creating an online boutique?
Prepare real product photos, descriptions, prices, available sizes, stock, your shop details, a fulfilment plan and the payment account you intend to use.
Can I start with only a few products?
Yes. A small, accurate collection gives you a useful way to test the full browsing, ordering and fulfilment workflow before expanding.
Do I need a separate Instagram shop?
You can use a storefront link in your Instagram profile to send customers to your shop. Native Instagram Shopping and catalogue tagging are separate features and are not included in SellyBee’s described link-sharing workflow.